User Guides
Installation Guides
Select product(s) from the table of contents below for step-by-step instructions. If you need additional support, please contact us.
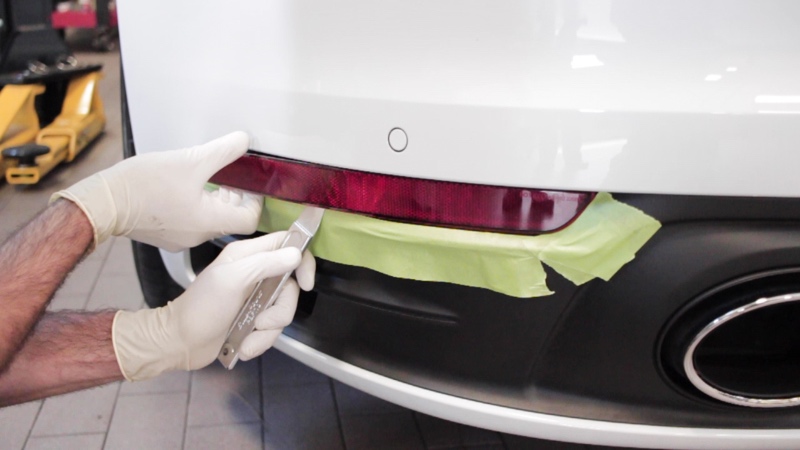
991/992 Rear Reflectors
Tools: pry tool, painter's tape and latex gloves- Prep the bumper with painter's tape around the reflector.
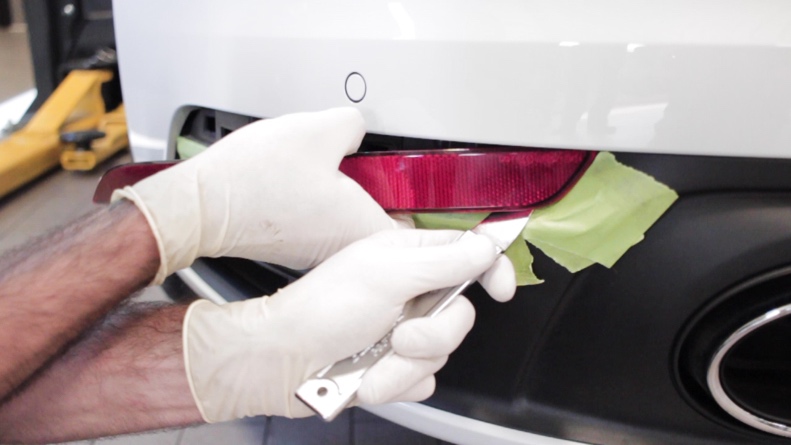
- Gently remove existing reflector with a plastic pry tool.
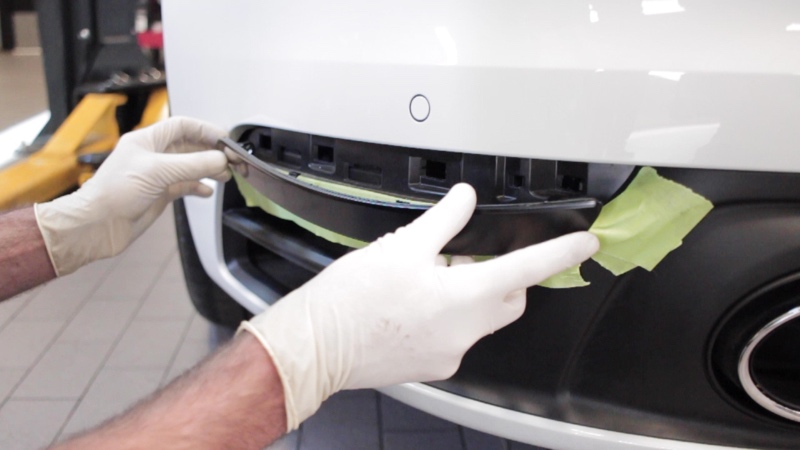
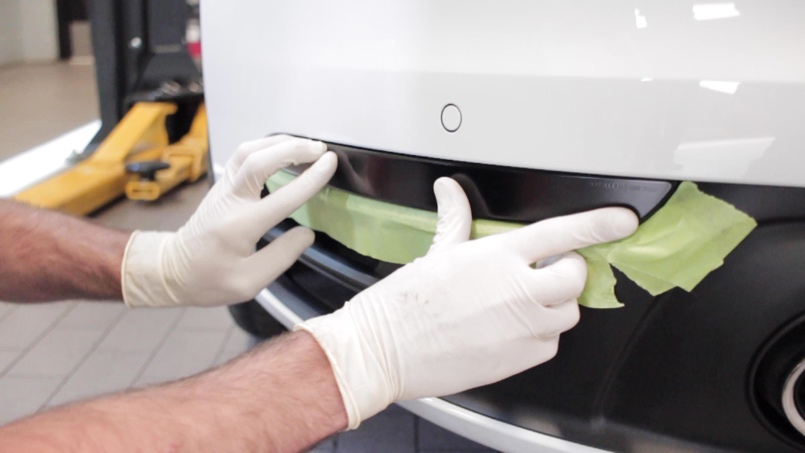
- Line up the clips on the new painted reflector.
- Gently insert, lining up the clips.
Cayenne Rear Reflectors
Panamera Rear Reflectors
Taycan Rear Reflectors
Cayenne Sidemarker Removal/Install
992 GT3 RS Sidemarkers
Tools: torx screwdriver and pry tools- Turn wheel outwards.
- Remove torx T25 screws on wheel liner.
- Pry open liner gently using fingertips and/or pry tools.
- Press metal clip to release sidemarker and disconnect cable.
- Install new painted sidemarker and reconnect cable.


Macan Sidemarker Removal/Install
Panamera Sidemarker Removal/Install
997/987 Dash Trim Removal/Install
Tools: plastic pry tool, painter's tape, 5mm allen wrench987/997 Door Lever Pull Removal/Install
Tools: plastic pry tool,996 Rear Center Console Removal/Install
997 Rear Center Console Removal/Install
Tools: plastic pry tool, T-10, T-15, T-20, T-25, 10mm socket, flathead screwdriver996 Bumperettes
Tools: Allen wrench (#6)Before installing, please remove jewelry, rings, and watches to avoid scratching the finish. Be extremely careful with your painted bumperettes. Although we have added flex agents to the paint, the finish can and will crack if dropped. Please wait two weeks before waxing them.
- Insert #6 Allen wrench into nut on bottom side of bumperettes to remove.
- Once the nut is loosened, it will fall down (catch it).
- Place and hold the painted unit to the bracket.
- Re-install the bolt using the hex wrench to place it in position. Tighten bolt.
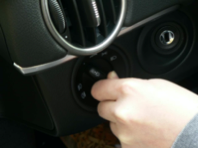
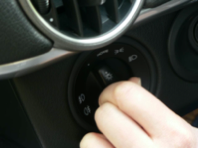
997 Headlight Bezel Trim Replacement
Tools: T-20- Press switch firmly and it will move inwards.
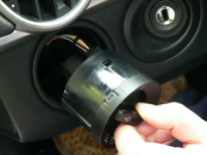
- While pressing firmly inward on the switch, turn clockwise to the right.
- Pull on the switch and it will slide out.
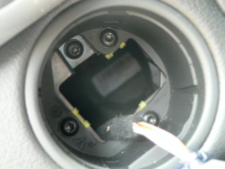
- Remove the three Torx screws and the trim will come out.
981 Side Vents
Tools: Painter's tape- Prep the painted surface around the side intakes with painter's tape.
- Remove the vents by reaching in the outboard edge and giving it a slight tug.
- The inboard edge has 3 tabs:
- The top tab is 2" up from the cross support.
- The middle tab is 1 1/2" down from the cross support.
- The bottom tab is 3" up from the bottom radius.
- Start to wiggle and gently pull the entire inboard edge. This will ease the tabs out. Be careful not to pull too hard or you risk breaking the tabs. If a tab breaks off, you can use pliers to remove.
- Once removed, the new painted side vents can be installed following the steps in reverse order.
718 Side Vents
Tools needed: plastic pry tool, painter's tape- Prep the painted surface around the side intakes with painter's tape.
- Begin working your pry tool around the inboard edge to loosen the tabs.
- The clips on the outboard edge should loosen by this point.
- Now, with all 3 tabs on the inboard edge loosened, grab the middle part of the vent and gently pull forward.
- Be careful not to pull too hard or you risk breaking the tabs. If a tab breaks off, you can use pliers to remove.
- Once removed, the new painted side vents can be installed following the steps in reverse order.
987 Side Vents
Tools needed: plastic pry tool, painter's tape- Prep the painted surface around the side intakes with painter's tape.
Door Plugs
- Verify the color before installation.
- Insert the plug into the key slot.
- If the plug is not fitting, shave off a small amount on the outer 'tines' with a straight edge/X-Acto.
- Once installed the plug leaves 1/16" of space visible, enough to remove if necessary.
- Wipe with a microfiber towel once installed.
Wiper Delete Plug
Tools: silicone- Remove nut under cap at base of rear wiper arm.
- Inside vehicle remove the vertical rear panel behind the rear seats.
- Pull firmly at the corner between the panel and glass.
- Continue working your around until all clips are released.
- Remove wiper motor by loosening the 3 nuts and wire harness.
- Pull motor out and replace the snap-in panel.
- Fit the wiper delete plug using silicone for water-tightness.
- Push in and wipe clean.
997 PCM Removal/Install
Tools: screwdriver, T-30, T-15, hook tool, needlenose pliers, 5mm Allen wrench996 Radio Surround Horseshoe Removal/Install
Tools needed: Plastic pry tool, painter's tape997 Washer Nozzles
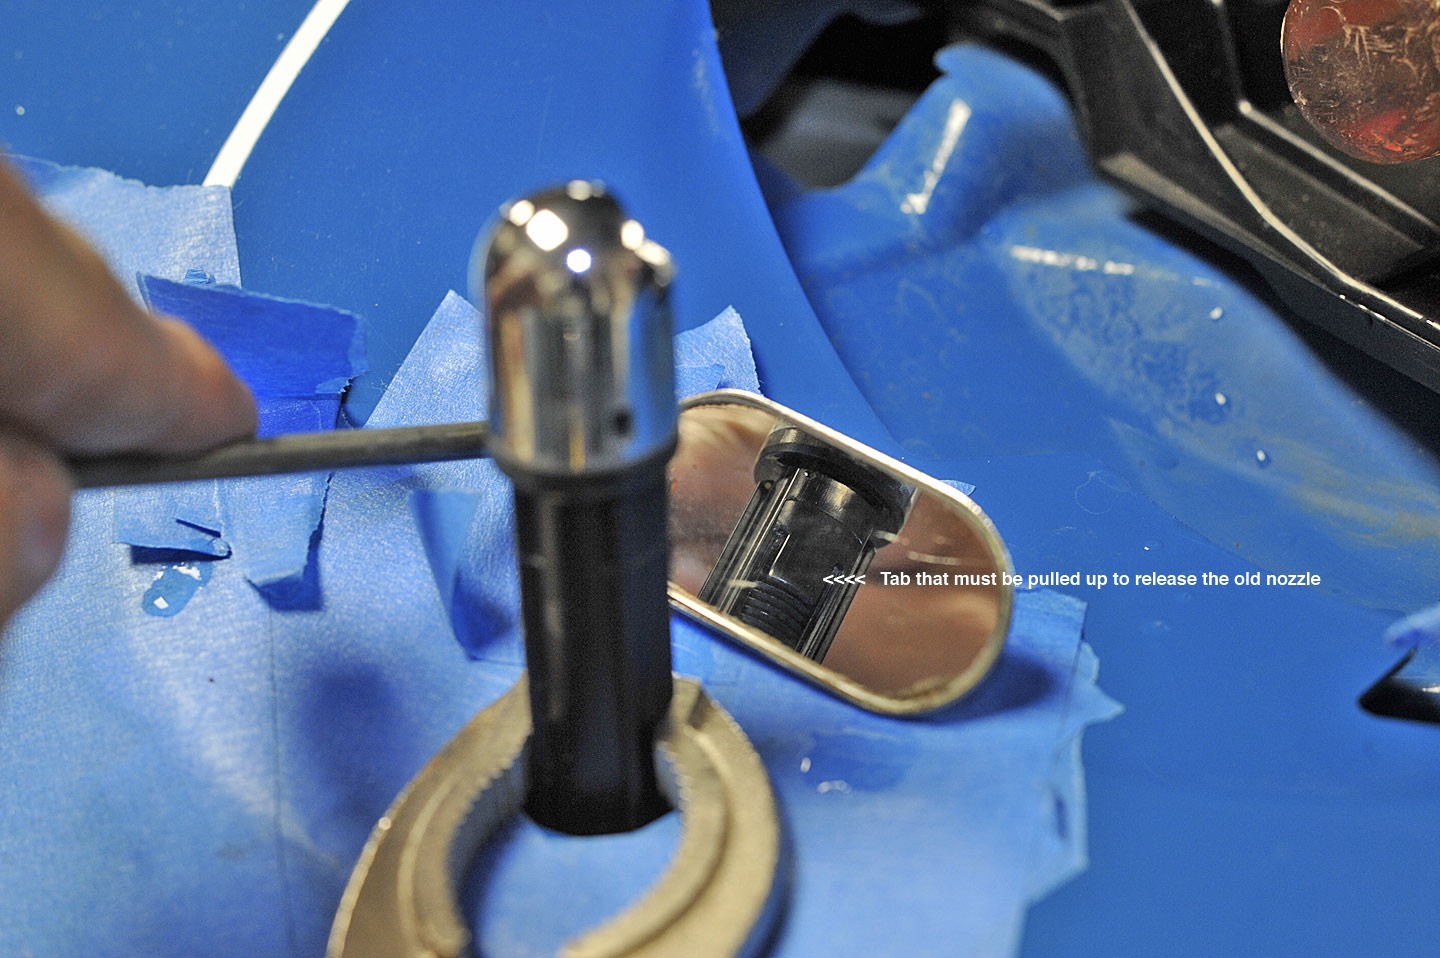
Tools: cotter pin removal tool, Vise grip, small screwdriver (e.g. eyeglass repair kit), painter's tape.- Prep the area around headlight with painter's tape.
- With cotter pin removal tool, gently pull up washer nozzle.
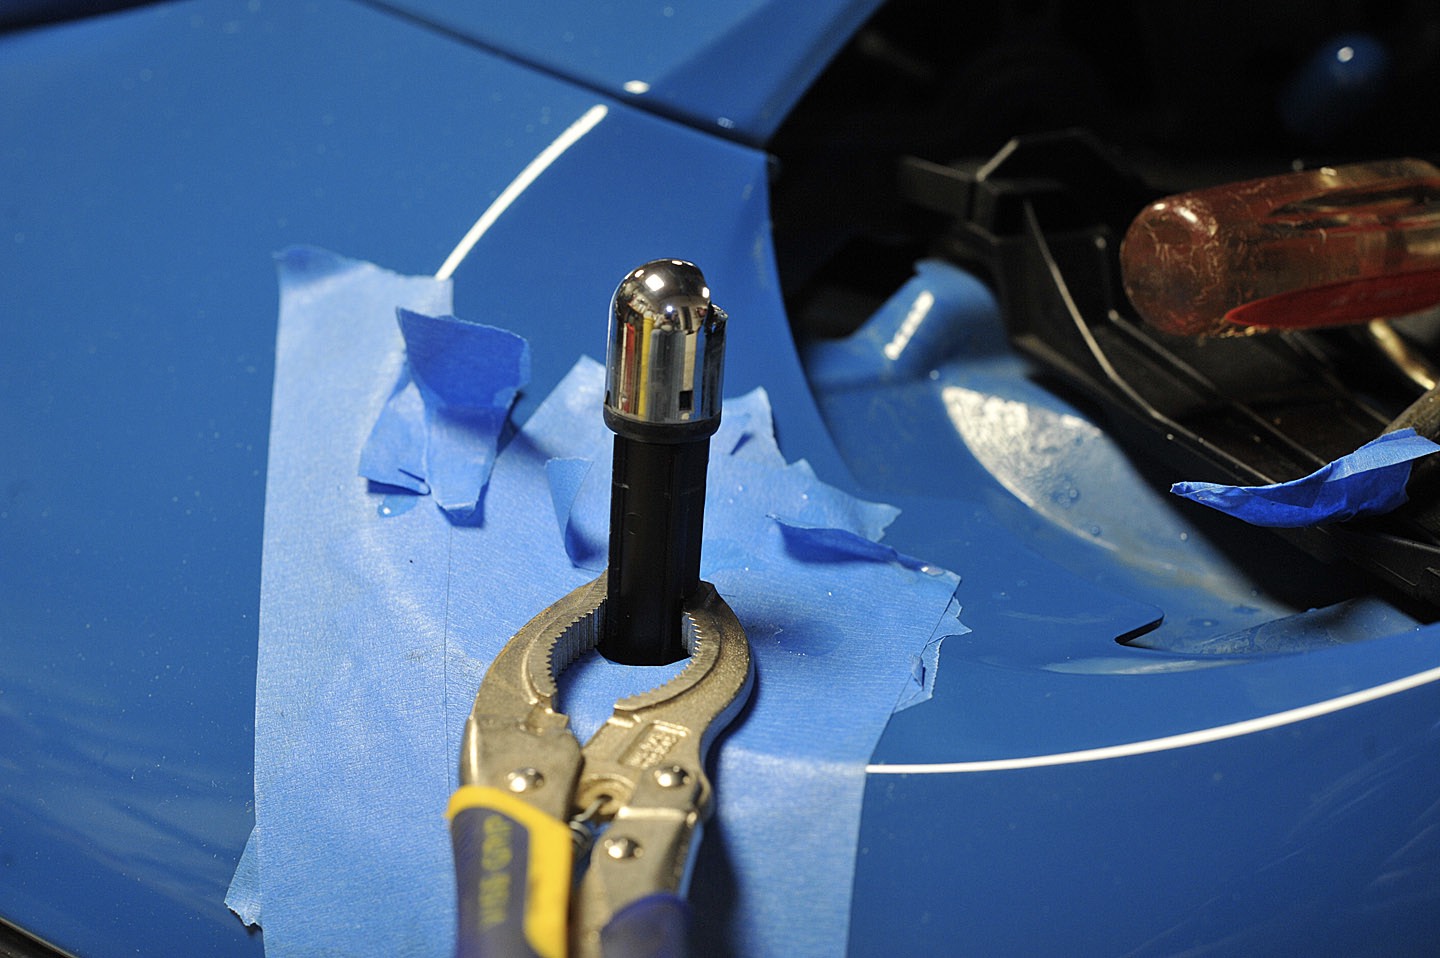
- Mount Vise grip around around stem of washer nozzle.
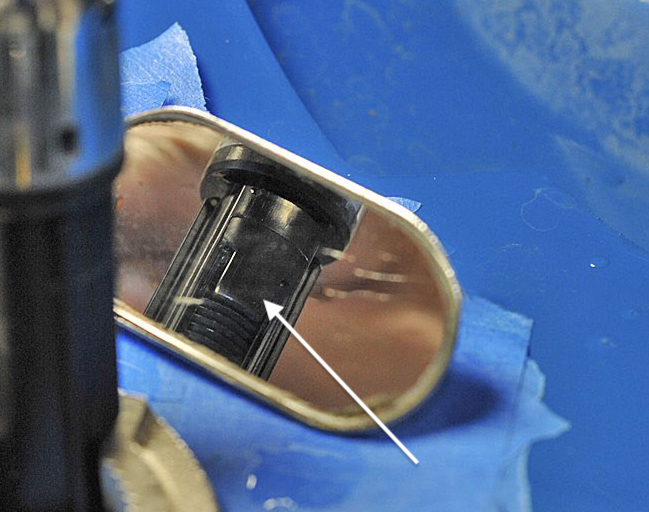
- Press inside-facing tab with small flat-head screwdriver to release.
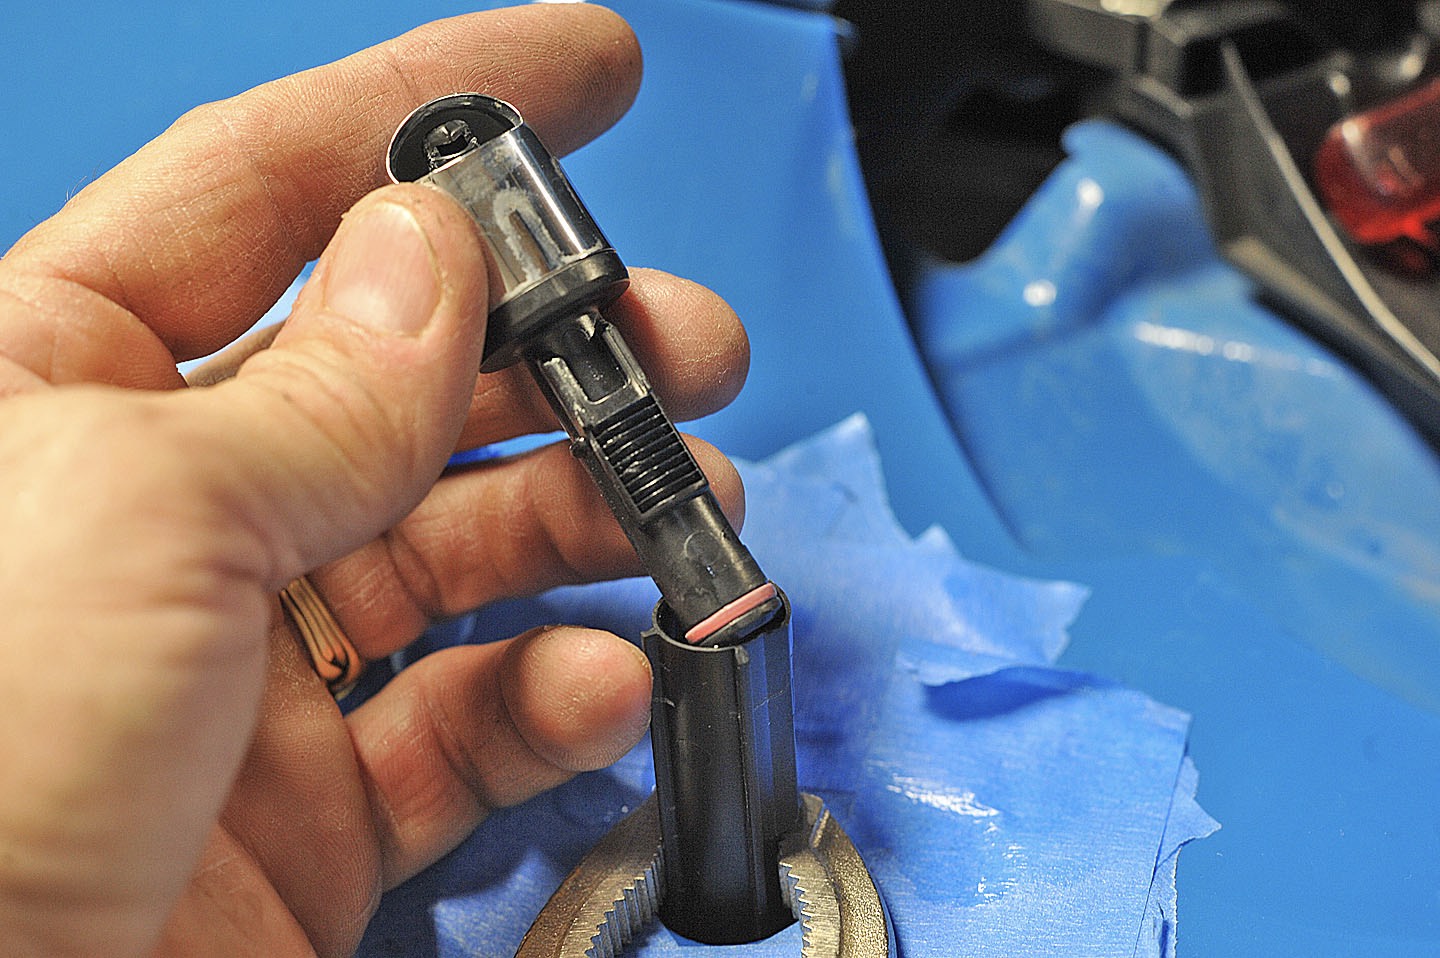
- Gently remove and insert new washer nozzle.